Need help ?Address: FLAT/RM 803 CHEVALIER HOUSE 45-51 CHATHAM ROAD SOUTH TSIM SHA TSUI KL
Email: support@hkmlc.com


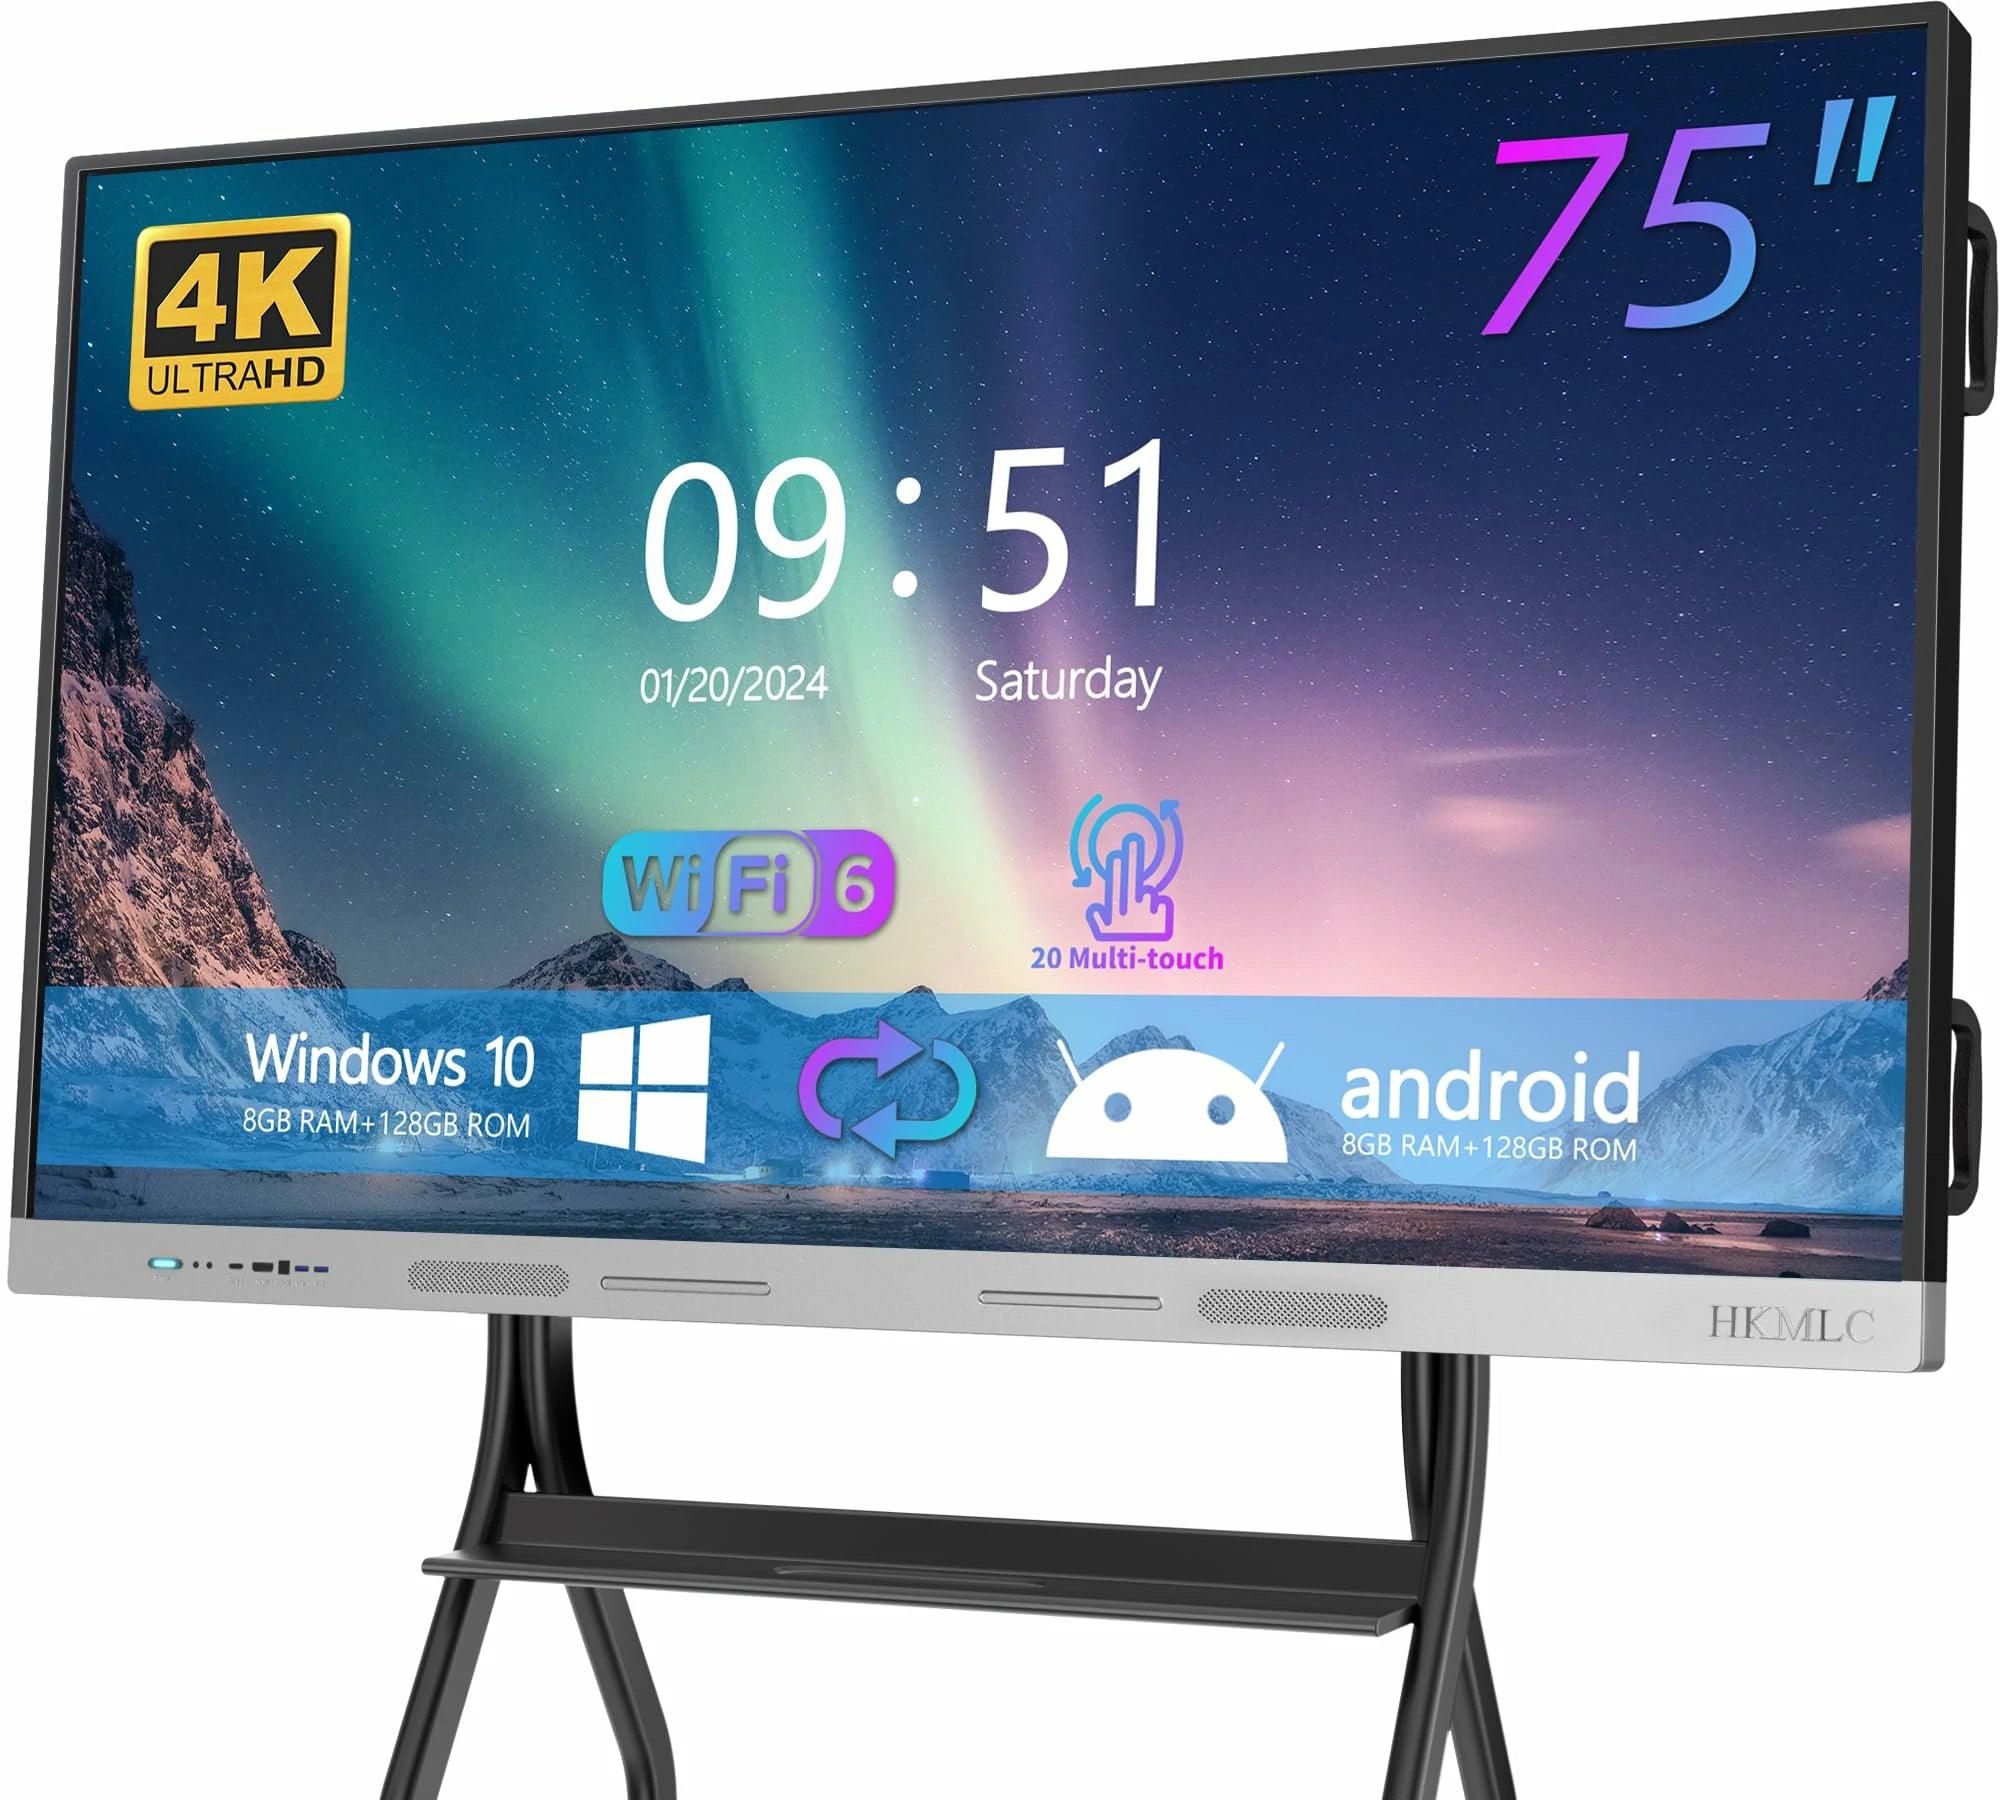
Requisite DateTime & Language Settings On Your HKMLC Smart Board: Proper functioning, timely scheduling, and user convenience require correct date, time, and language settings for your HKMLC smart board. First-time setup or tweaking the smart board to fit your style, in this guide we will help you get through everything step by step.
Go to step 1 to configure HKMLC smart board
Press the power button on your HKMLC smart board to turn it on and go to the home screen.
Go to the settings with the icon or remote control and then go into the System Settings menu.
Choose the Date & Time or Language settings based on the setting you want to modify.
We feature new HKMLC smart boards models.

Scheduled tasks and timestamps rely on the correct date and time. Here’s how to adjust them:
Open System Settings > Date & Time.
For manual entry over Automatic Date & Time, if applicable, make sure it is disabled.
Use the interface to set the current date and time.
Save changes and go back to the settings screen.
The HKMLC smart board enables you to set your time zone to make it so that meeting and classroom schedules stay accurate:
In Date & Time, tap Time Zone.
Go over the zone list and choose the zone relevant to your region.
If you want the system to update automatically based on your internet connection, enable Automatic Time Zone.
Some users may prefer the 12 hour clock format, while others may have a preference for 24 hour format:
Navigate to Time Format.
Plus, you can choose from AM/PM (12-hour form) or 24-hour form.
Save your selection and exit.
HKMLC smart board with more scheduling function.
Enable automatic time synchronization for real-time accuracy:
Under Date & Time, first enable Network-provided Time.
Connect the HKMLC smart board to the internet for correct updates.
If you want to manually enter date and time, disable this option.

If you want to adjust your display language:
Navigate to System Settings > Language.
Select the desired language from the available options.
Just click on confirm and the interface will change appropriately.
Inside Language Settings, select a language of your choice.
Choose Apply and restart if required, to implement the changes.
Check that the interface is now shown in the newly specified language.
Language: This is helpful for multilingual users because once you’ve configured the language of your keyboard, you won’t have to deal with inconsistency of input while you are typing text.
Settings > Keyboard & Input
Choose Add a New Keyboard Language.
Select the preferred layout and confirm the changes.
HKMLC smart boards with multiple language support
After readingjusting:
Click Save Changes.
Leave the System Settings menu.
Verify that all of the preferences have been configured properly.
Some, like language preferences, might require a restart for major settings changes:
Press and hold the Power Button, then click Restart.
Wait for your system to reboot, and ensure the new settings are in place.
With this information, all of the users will be easily able to use the HKMLC smart board for their presentations, meetings, and educational applications. For the latest HKMLC smart board models, please visit our website!
No comments
Where Visions Are Amplified!
Email: support@hkmlc.com
Phone: 1-877-947-8577
Adress: ROOM_1, 16/F EMPRESS PLAZA 17-19 CHATHAM ROAD SOUTH, TSIM SHA TSUI, HK


0 comments