Need help ?Address: FLAT/RM 803 CHEVALIER HOUSE 45-51 CHATHAM ROAD SOUTH TSIM SHA TSUI KL
Email: support@hkmlc.com


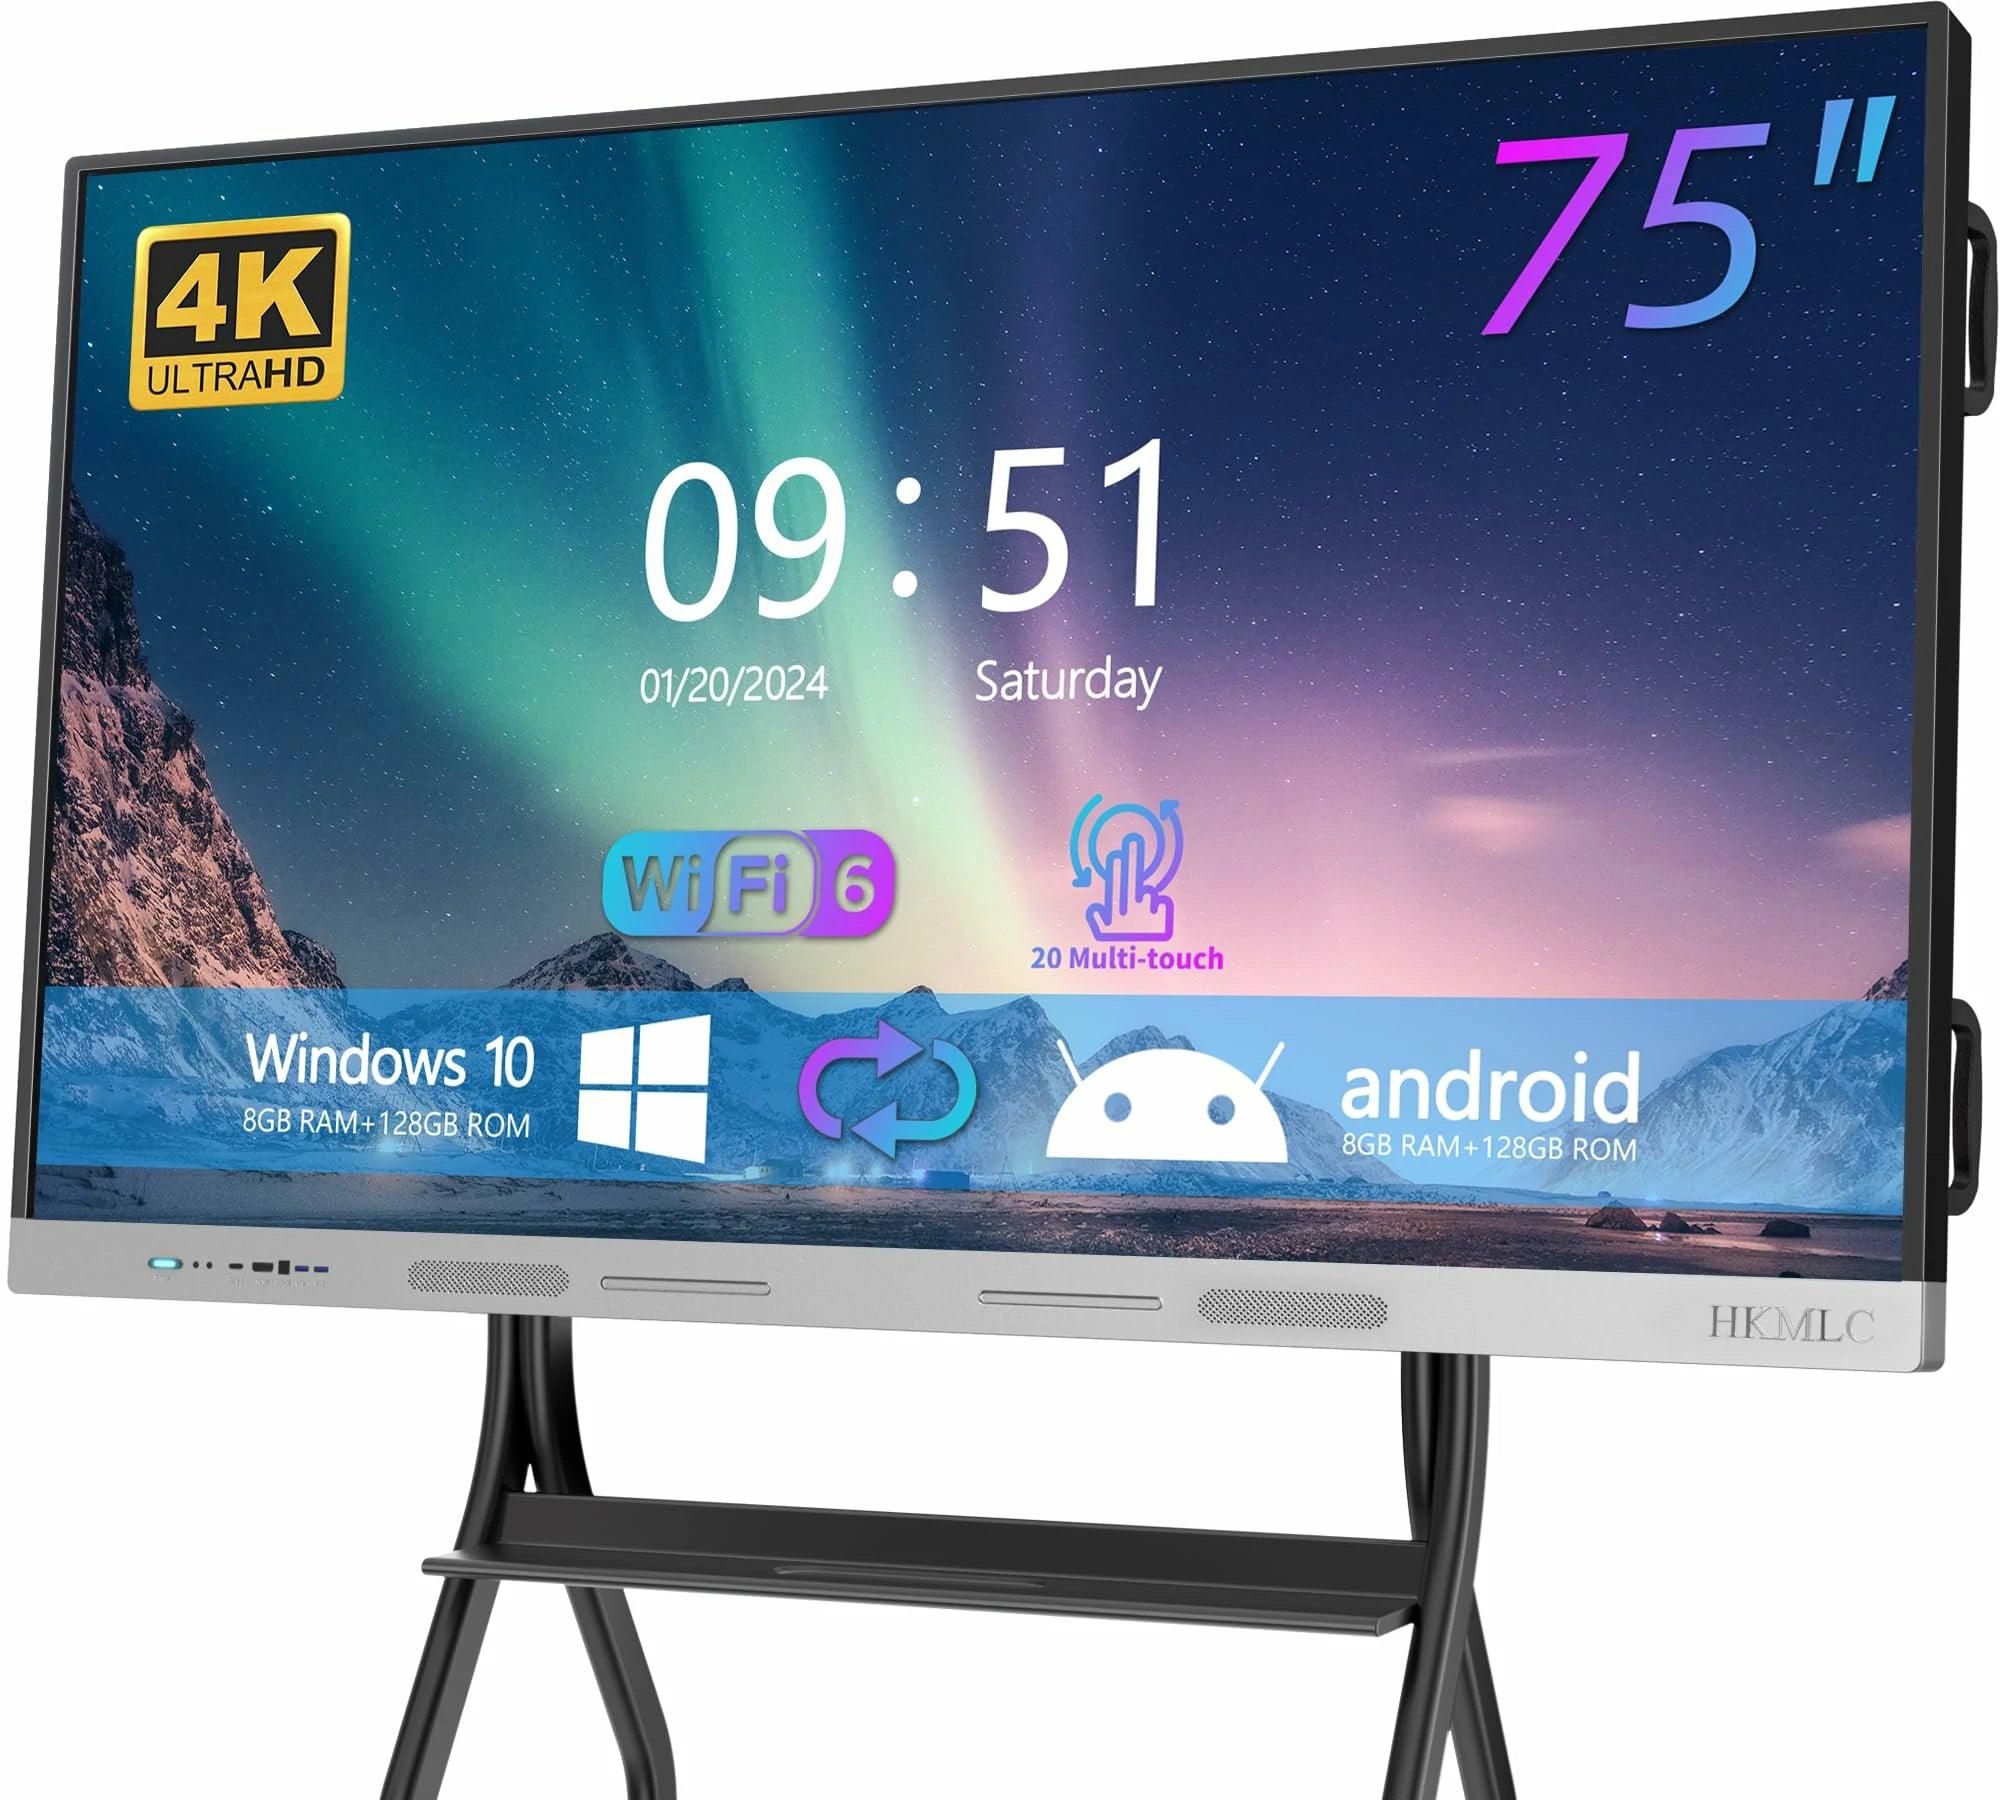
The HKMLC Smart Board revolutionizes learning and presentations, creating an engaging and dynamic environment. To fully harness its power, understanding your remote control is key. This guide provides a clear, step-by-step approach to mastering your HKMLC Smart Board remote.
Before diving in, ensure both your HKMLC Smart Board and remote control are ready for action. Double-check the board's wiring and power connections to all necessary sources.
Want to get the most out of your interactive HKMLC Smart Board? Learn more here!
Insert the correct batteries into the remote control, ensuring they are properly aligned within the battery compartment. Next, make sure your remote is paired with your HKMLC Smart Board using this simple step.
With the remote prepped, power on the HKMLC Smart Board. The power button is typically located on the front or side of the board, depending on your specific model. It is important to wait for the board to be completely working before pairing it with the remote control.
Press the power button on the remote to activate it. If it doesn't respond immediately, verify the battery orientation and ensure the board is in standby mode.
But find out why the HKMLC Smart Board and its remote go hand-in-hand for perfect usability here!
The next step is to pair the remote with your HKMLC Smart Board. Generally, this involves pressing the pairing button on both the remote and the board. Follow the on-screen prompts to complete the pairing process. Once connected, the remote should be ready to use.
Now you can leverage the remote control to access the features of your new smart board. Use the buttons to scroll through menus, select content, and navigate the board. The remote provides convenient control from a distance, ideal for presentations and teaching.
Do you want to better control your smart board setup? Learn more about how profiling your workflow with the HKMLC Smart Board remote can change the nature of work into play here!
The HKMLC Smart Board remote allows you to adjust volume, screen brightness, and display modes. This empowers you to tailor the board's settings to your preferred working style, ensuring a comfortable and effective experience during presentations or teaching sessions.
After configuring the settings, test all the remote's functions to ensure they are working correctly. If the remote isn't functioning as expected, check the batteries and pairing settings. Consider restarting both the remote and the smart board to resolve any issues.
Take this opportunity to fine-tune your remote usage. If problems persist, consult the HKMLC Smart Board user manual for troubleshooting tips or contact technical support for assistance.
TABLE OF CONTENTS �� A personalized smart white board for your classroom, office or home. Product page visit for further flow.
With your HKMLC Smart Board and remote control working in harmony, you can create immersive and impactful learning and presentation environments. This guide provides the basic instructions to ensure you properly utilize your smart board and remote control. The HKMLC Smart Board is an interactive board designed to enhance collaboration and empower classrooms, offices, and professionals.
Explore the interactive HKMLC Smart Board and take your interactive experience to the next level!
No comments
Where Visions Are Amplified!
Email: support@hkmlc.com
Phone: 1-877-947-8577
Adress: ROOM_1, 16/F EMPRESS PLAZA 17-19 CHATHAM ROAD SOUTH, TSIM SHA TSUI, HK


0 comments