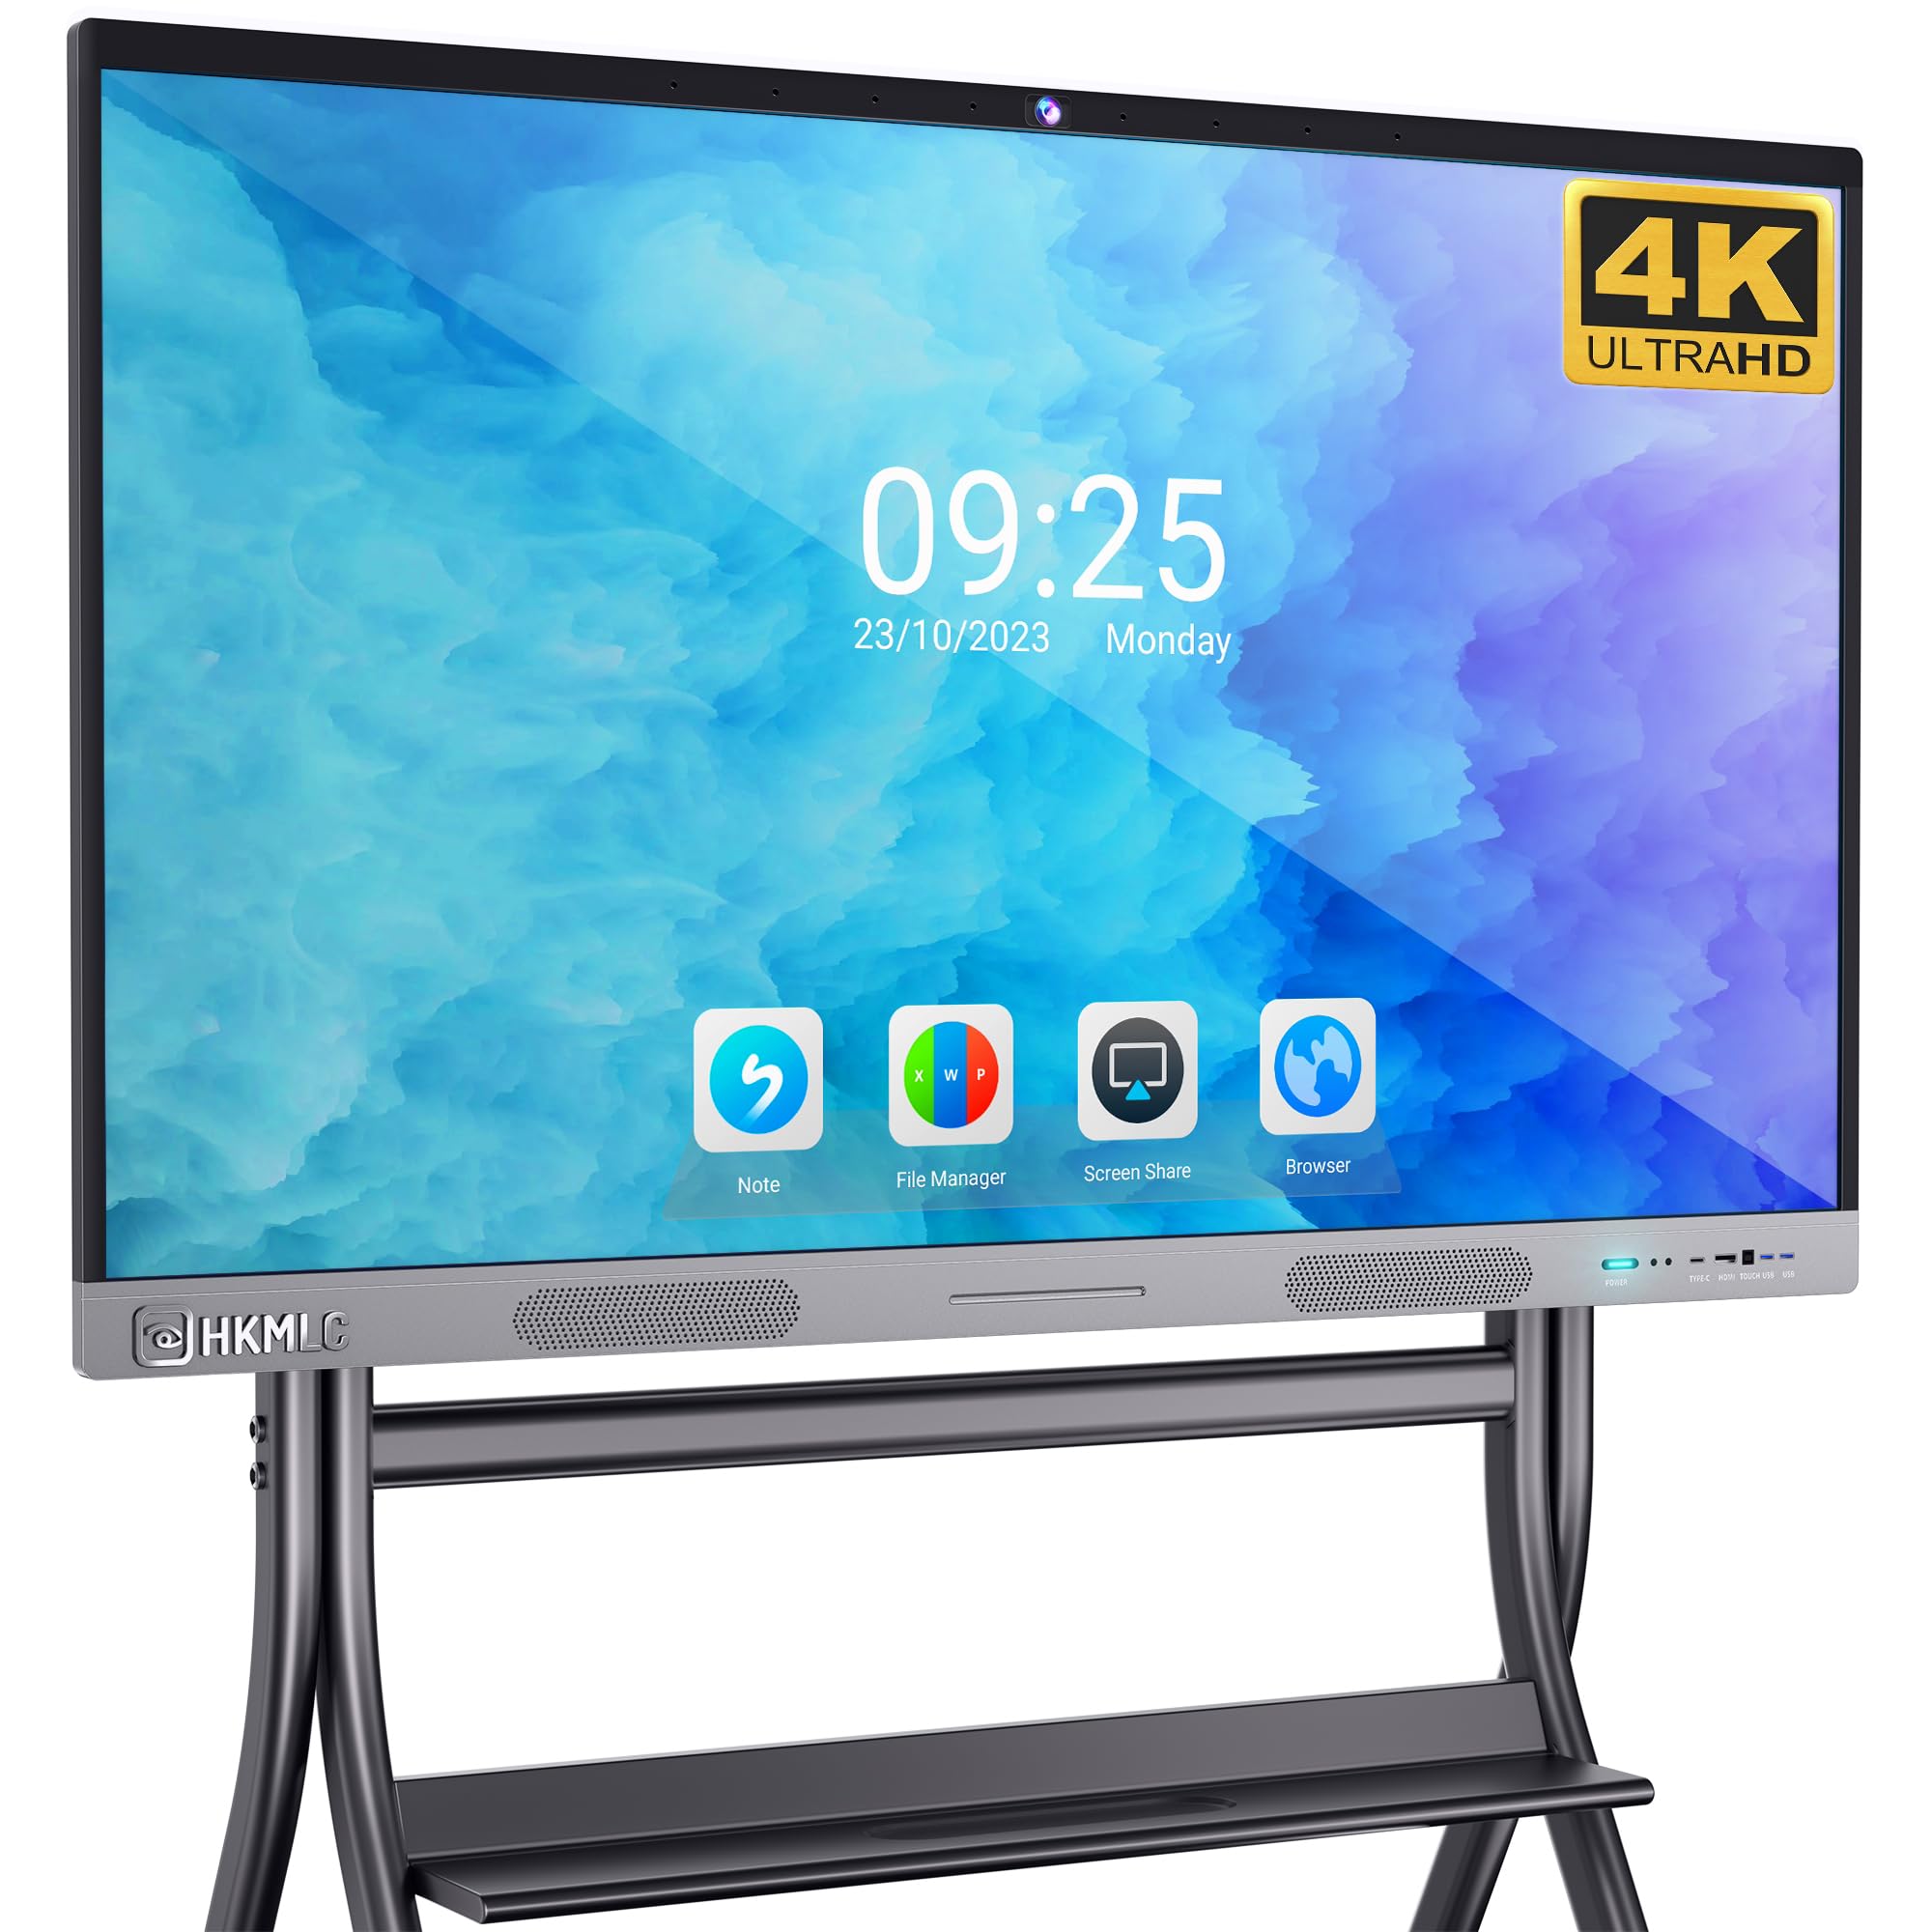
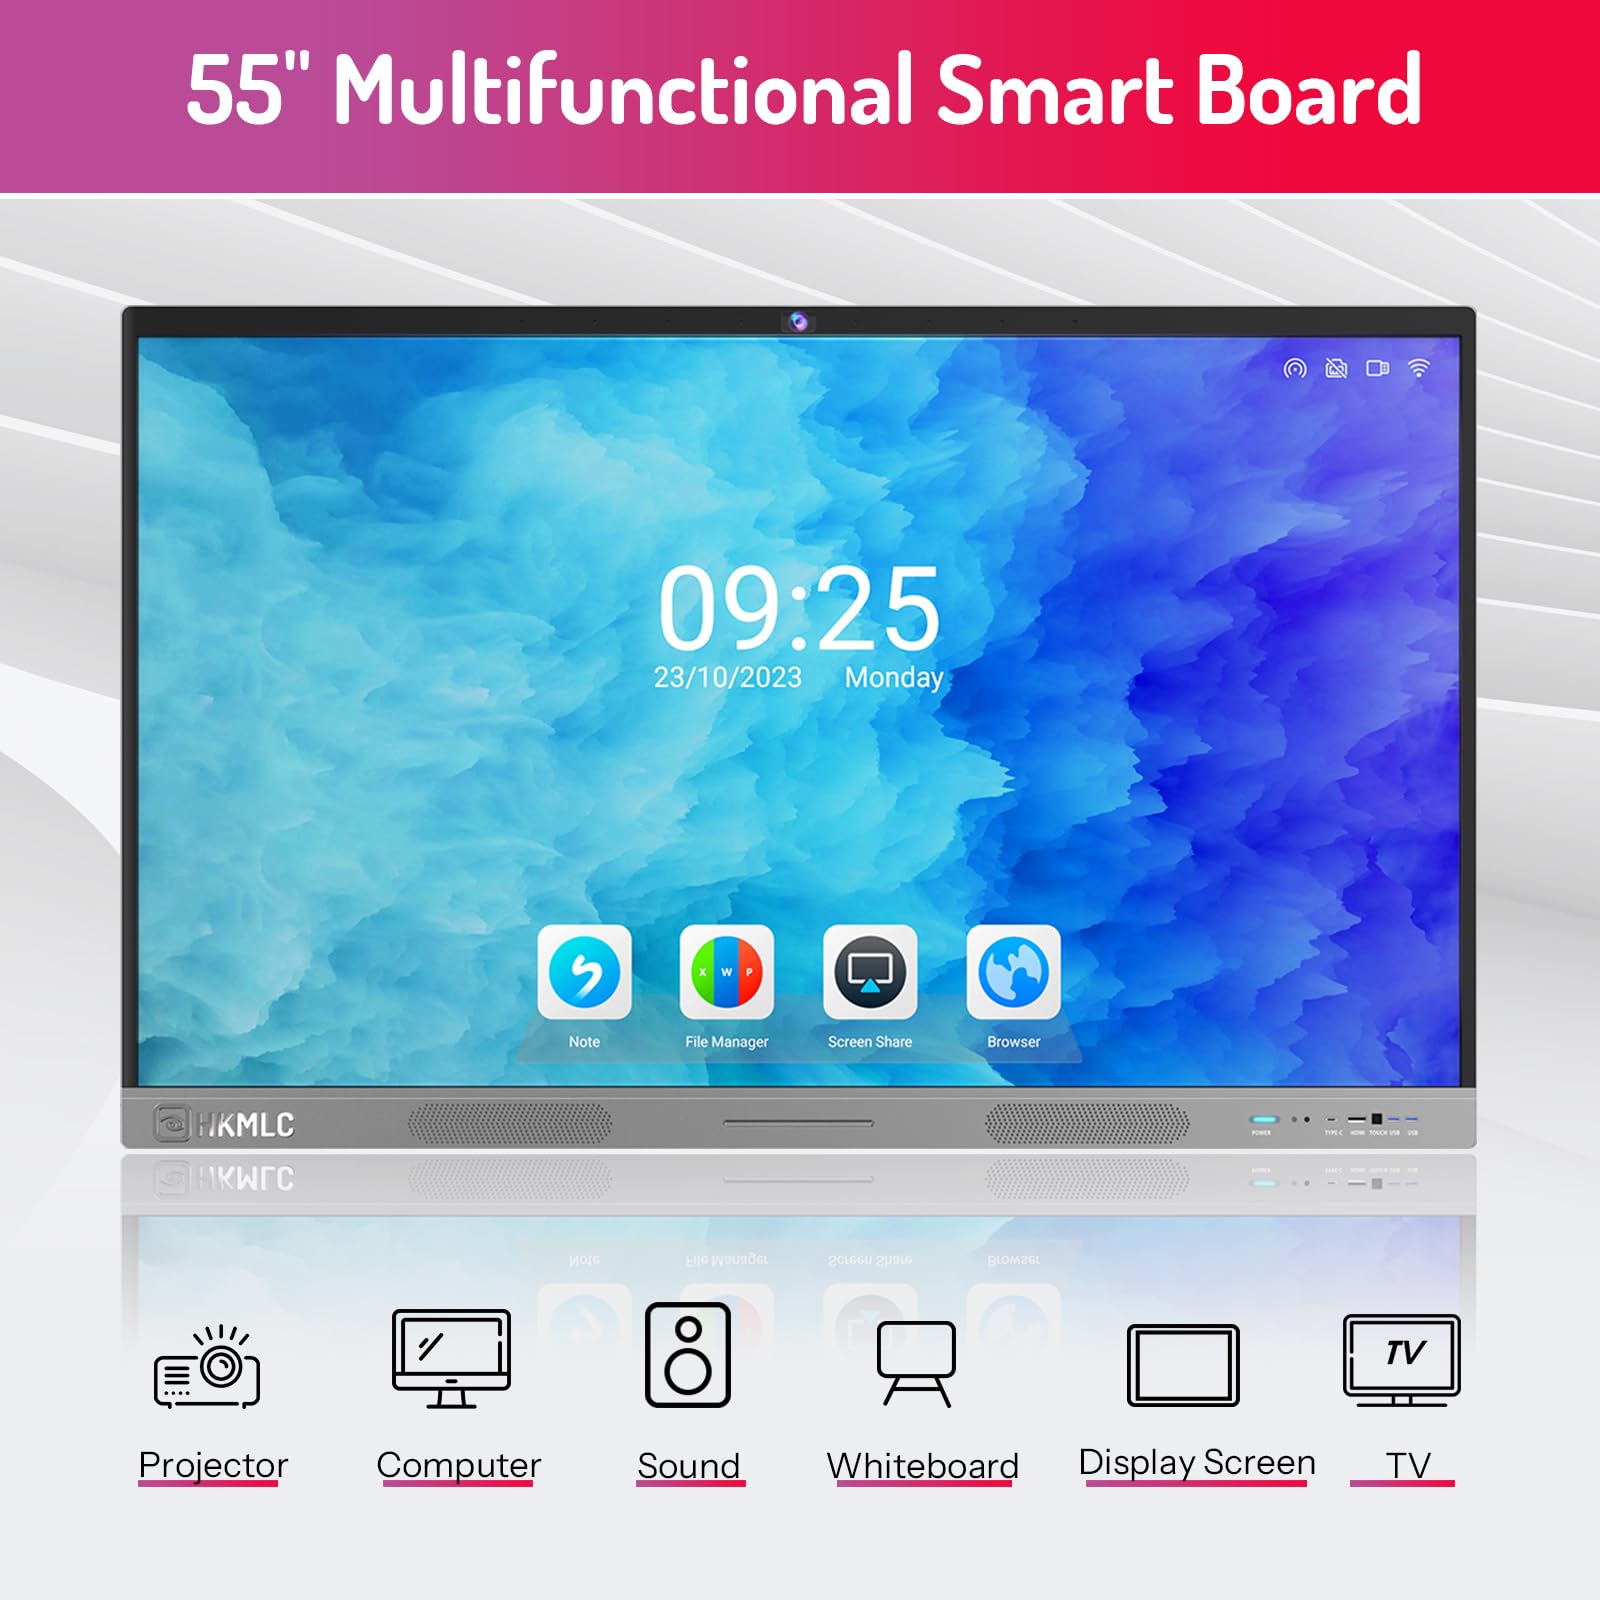
Online whiteboards play a crucial role in remote meetings, offering a platform for real-time collaboration and information sharing. They allow participants to communicate ideas through both graphics and text, draw charts and diagrams, and annotate documents. This not only enhances interaction and engagement during meetings but also promotes clear communication, aiding in the explanation of complex concepts. Online whiteboards also make it easier to record meeting notes and follow up afterward, helping teams collaborate more effectively and achieve results.
Moreover, they bridge geographical distances, enabling remote teams to collaborate in real time, increasing flexibility and efficiency. They are a powerful tool in a remote work environment. This article shares detailed methods on how to conduct effective remote meetings using online whiteboards.
1. Prepare Before the Meeting
(1) Define the Meeting's Purpose and Agenda
Before conducting a successful remote meeting using an online whiteboard, it's essential to clarify the meeting's purpose and agenda. Defining the meeting's purpose helps participants understand the main goals, allowing them to prepare better and engage in discussions. Setting a clear agenda helps the meeting proceed in an organized manner, ensuring that the content and discussion direction are well-defined.
By clarifying the purpose and agenda, participants can prepare relevant materials and think about key questions in advance, making them better equipped to contribute and meet the expected goals. A clear agenda also helps the host and participants stay focused during the meeting, ensuring its efficiency.
(2) Choose the Right Online Whiteboard Tool
Before conducting a remote meeting, selecting the right online whiteboard tool is crucial. Here are some commonly used online whiteboard tools along with their features and advantages:
- Miro: Offers a wide range of collaboration features, allowing real-time editing and sharing of whiteboard content. It supports various templates and graphics, making it easy to create different types of charts and diagrams. Miro also integrates with other tools like Slack and Jira.
- Microsoft Whiteboard: Allows seamless synchronization across multiple devices, facilitating team collaboration. It provides various drawing tools and brush effects, enabling the creation of diverse content. You can also import and export whiteboard content for easy sharing and saving.
- Google Jamboard: Features a simple and user-friendly interface, supporting real-time collaboration and simultaneous editing by multiple users. It allows the addition of text, images, and stickers to enhance the whiteboard content.
Choosing the right online whiteboard tool based on the meeting's needs and the team's preferences can boost both efficiency and engagement. For instance, if your team is already familiar with the Microsoft Office suite, Microsoft Whiteboard might be more convenient. Additionally, you can compare tools based on their functionalities and interfaces to select the one that best meets your needs.
(3) Invite Participants and Send Meeting Links
Before starting a remote meeting, it's essential to invite participants and send the meeting link to ensure they can join on time. Here are some steps and tips to help you complete this process smoothly:
Identify the Participants: First, determine who needs to be invited. This may include colleagues, partners, clients, or other relevant individuals. Ensure you have their correct contact information, such as email addresses or phone numbers.
Choose the Right Communication Method: Depending on the preferences and needs of the participants, choose an appropriate method to send the meeting invitation. Common methods include email, instant messaging, or online collaboration platforms. Make sure the chosen method is accessible and familiar to the participants.
Draft the Invitation Message: Before sending the invitation, prepare a clear and concise invitation email or message. Include the following details: the meeting date, time, and duration; the meeting purpose and agenda; the meeting link and instructions on how to join; any preparation or information the participants should know in advance, and contact details for further inquiries.
Send the Invitation: Once the invitation is ready, send it to the participants. Make sure to provide clear instructions in the email or message so they can easily join the meeting. If possible, send the invitation well in advance to give participants enough time to prepare.
Follow Up for Confirmation: At an appropriate time after sending the invitation, follow up to confirm whether participants received the invite and can join the meeting. If someone hasn't received the invitation or encounters issues, offer timely support and solutions.
By following these steps, you can efficiently invite participants and send out meeting links, ensuring that they can join the remote meeting on time. This will lay the foundation for a successful meeting and enhance participants' satisfaction and engagement.
-
Introduction to Online Whiteboard Features
(1) Using the Whiteboard Drawing Tool
In remote meetings, real-time collaboration using an online whiteboard is essential. The drawing tool is one of the core features, allowing participants to freely draw and annotate on the whiteboard. Here are some examples of using the whiteboard drawing tool:
Drawing Shapes and Icons: The drawing tool can be used to create various shapes and icons, such as arrows, rectangles, and circles. This helps participants express their ideas and viewpoints more clearly. For instance, during a remote team meeting, one member could use the drawing tool to draw an arrow pointing to a specific area, helping other members better understand their point.
Annotating Text and Images: The drawing tool can also be used to annotate text and images. In a remote training session, for example, the instructor could use the tool to highlight key information on an image to help students understand and retain the material better. Participants can also directly write or annotate text on the whiteboard to share and discuss with others.
Highlighting and Erasing: The drawing tool often includes highlighting and erasing features. The highlight function can emphasize specific content on the whiteboard, while the erasing function can remove unwanted markings. For example, in a remote sales presentation, a salesperson could use the highlight tool to emphasize the product's features and benefits and then erase previous annotations to proceed with the next part of the presentation
By effectively using the whiteboard drawing tool, participants can visually share their thoughts and ideas, enhancing the effectiveness and engagement of remote meetings.
(2) Text Input and Editing Features
Online whiteboards offer robust text input capabilities, making text-based communication in remote meetings more convenient and efficient. These features often include text annotation and commenting functions, allowing easy marking and commentary on text. Below are the steps for using text annotation and commenting features on an online whiteboard:
Open the Online Whiteboard: Start by opening the online whiteboard function in the remote meeting tool.
Select the Annotation Tool: In the whiteboard interface, locate the annotation tool. This is usually represented by a pen or marker icon. Click the icon to select the annotation tool.
Annotate Text: Use the annotation tool to mark text on the whiteboard. You can customize the annotation with different colors, line thickness, and other parameters. Common methods include drawing boxes around text, underlining, or striking through to emphasize certain parts.
Commenting on Text: If you need to add comments, you can use the commenting tool. This tool is often represented by a comment bubble icon. Click the icon to select the commenting tool, then click anywhere on the whiteboard to add a comment bubble and type your comments.
Sharing Annotations and Comments: Once you’ve completed your annotations and comments, you can choose to share them with other participants. Most whiteboard tools offer a sharing option, which can be accessed by clicking a "share" button or selecting the appropriate sharing settings.
By utilizing the text input, editing, annotation, and commenting features of an online whiteboard, you can communicate more clearly and effectively during remote meetings, improving overall meeting efficiency.
(3) Drawing and Editing Tools
The online whiteboard offers a variety of drawing and editing tools that make remote meetings more dynamic and interactive. Here are some commonly used drawing and editing features:
Pen Tools: The whiteboard provides different pen tools such as pencil, pen, and brush, allowing users to choose different styles and thicknesses. The pen tools can be used to freely draw shapes and annotations, such as lines, circles, or arrows.
Shape Tools: There are also shape tools available, including straight lines, rectangles, and ellipses. These tools allow for quick drawing of precise shapes, which can be useful for highlighting key points or dividing areas during discussions.
Text Tools: The online whiteboard supports text input, where participants can add explanations or annotations. You can select different fonts, sizes, and colors to make the text clear and easy to read.
Eraser Tool: If you need to modify or delete any drawn shapes, you can use the eraser tool. This tool can erase specific shapes or clear the entire whiteboard, making it easy to revise and adjust content.
Editing Tools: Online whiteboards also offer editing options, allowing users to adjust previously drawn shapes. You can change the thickness, color, and transparency of lines, as well as resize and reposition the shapes.
By using these drawing and editing tools, participants can annotate and discuss graphics in real-time during remote meetings, helping attendees better understand and retain the meeting content. These features also enhance interactivity and engagement, making meetings more lively and interesting.
(4) Importing and Displaying Multimedia Files
In addition to text and graphic creation, online whiteboards support the import and display of multimedia files. By incorporating multimedia files, you can enrich the meeting content and improve participant engagement.
When conducting remote meetings with an online whiteboard, importing multimedia files can help presenters better illustrate and explain their points. Here are the steps for importing and displaying multimedia files:
Click the "Upload" button in the whiteboard toolbar to select the multimedia files you want to import. Supported formats include images (e.g., jpg, png), audio (e.g., mp3, wav), and video (e.g., mp4, avi).
After selecting the files, you can drag and drop them anywhere on the whiteboard and adjust their size or rotate them as needed.
The imported multimedia files can be combined with other whiteboard content. For instance, you can annotate over images or add captions to audio and video files.
While presenting multimedia files, you can use the control buttons on the whiteboard toolbar to play, pause, fast forward, or rewind. Additionally, you can adjust the volume and resize the video display.
By following these steps, presenters can easily import and display multimedia files, making remote meetings more engaging and informative. Participants can better understand and retain the meeting content by viewing images, listening to audio, or watching videos. The multimedia import and display features of the online whiteboard enhance interaction and participation, making meetings more effective and enjoyable.
3. Practical Tips for Remote Meetings
(1) The Role and Responsibilities of the Meeting Host
As the host of a remote meeting, you'll serve as an organizer, facilitator, and coordinator. Here are some key roles and responsibilities to help you perform effectively:
Organizer: Prepare the meeting agenda and materials in advance, ensuring all participants receive the relevant information. Check the functionality of the meeting software and equipment before the meeting starts, resolving any potential technical issues.
Facilitator: During the meeting, guide the discussion and ensure everyone has the opportunity to speak. Utilize the online whiteboard to record key points and outcomes, making it accessible for participants to refer back to. Use online polling tools to gather opinions and facilitate decision-making.
Coordinator: Coordinate communication and collaboration among participants. Set rules and guidelines, such as taking turns to speak and respecting others' opinions, to foster a positive meeting atmosphere. If someone is late or leaves, promptly inform the other participants and adjust the agenda accordingly.
(2) Guiding Participants in Using the Online Whiteboard
- Ensure all participants have installed the online whiteboard tool and are familiar with its basic functions before the meeting starts.
- Send instructions and a user guide to participants, detailing how to log in, create a whiteboard, add content, and save/share it.
- At the beginning of the meeting, briefly introduce the whiteboard's features and how to use it to facilitate communication and collaboration.
- Guide participants on creating a new whiteboard and sharing the link with others.
- Explain how to add text, images, charts, etc., to the whiteboard, demonstrating editing and adjustments.
(3) Encouraging Interaction and Collaboration
- Encourage participants to engage actively in discussions on the whiteboard using text, images, and annotation tools.
- Guide participants in using collaboration features on the whiteboard, such as simultaneous editing, commenting, and replying, to promote real-time interaction.
- Remind participants to utilize the polling feature on the whiteboard to gather opinions and make decisions.
(4) Organizing and Sharing Outcomes
- At the end of the meeting, remind participants to save the whiteboard content and share it with everyone for future reference.
- Export the whiteboard content as a PDF or image format for easy sharing and saving.
- Encourage participants to summarize and provide feedback on the whiteboard content discussed during the meeting for further improvement.
(5) Troubleshooting Technical Issues and Providing Support
Technical issues may arise during remote meetings, such as audio/video connectivity problems or issues with the whiteboard tool. As an educational technology expert, you should provide timely technical support to ensure the meeting runs smoothly. Here are some practical tips:
Pre-Meeting Testing: Test systems and devices before the meeting. Ensure all participants' equipment and network connections are functioning properly. Send a test link in advance for participants to check their audio, video, and whiteboard functionalities.
Detailed Guidance: Provide participants with detailed user guides before the meeting. Include instructions on how to join the meeting, use the whiteboard tool, and adjust audio/video settings. If possible, offer video tutorials or presentations for better understanding.
Prompt Response: During the meeting, respond to participants' technical questions and concerns promptly. Communicate via chat, voice, or video call, striving to resolve issues quickly to avoid disrupting the meeting.
Backup Plans: Prepare alternative solutions for unresolved technical issues. For example, if the whiteboard tool fails, provide a backup online document-sharing tool or screen-sharing option to ensure the meeting continues smoothly.
Document Issues and Solutions: After the meeting, record any technical problems encountered and the solutions implemented. This will serve as a reference for future meetings and help improve technical support.
By following these practical tips, you can effectively guide participants in using the online whiteboard and address any technical challenges, ensuring a productive remote meeting experience.
4. Considerations for Remote Meetings
(1) Ensure a Stable Internet Connection
A reliable internet connection is crucial for smooth remote meetings. Here are some tips:
Use Wired Connections: A wired connection typically offers more stability than wireless. If possible, connect your device directly to the router to minimize disruptions.
Reduce Bandwidth Usage: Close other devices that may be using the network, such as smartphones and tablets, to free up bandwidth for the meeting.
Test Connection Speed: Before the meeting, use a speed test tool to check your internet connection. If the speed is slow, consider contacting your ISP for improvements.
Choose a Reliable Video Conferencing Platform: Select a platform known for its stability and reliable technical support to minimize interruptions.
Conduct Pre-Meeting Tests: Test audio, video, and connectivity with participants before the meeting to identify and resolve any issues early.
(2) Focus on Participants' Visual and Auditory Experience
Providing a good visual and auditory experience enhances engagement. Consider the following:
Use High-Quality Equipment: Invest in a good camera and microphone to ensure clear audio and video. This helps participants see and hear the meeting content clearly.
Adjust Camera and Microphone Placement: Position your camera at eye level for better engagement and place the microphone close enough to capture your voice clearly.
Clear Presentations: When sharing your screen, ensure high resolution for visibility and clear audio for effective communication.
Provide Subtitles or Translation Services: If needed, offer subtitles or translation support to ensure all participants can follow the discussion.
By focusing on these aspects, you can enhance the overall meeting experience for participants.
(3) Manage Meeting Time and Agenda Effectively
Effective time and agenda management is essential for a productive meeting. Here are some strategies:
Be Prepared: Ensure the agenda and related materials are ready and shared with participants in advance, allowing them time to familiarize themselves.
Set Time Limits: Establish clear time limits for each agenda item at the start of the meeting to keep discussions on track.
Use the Online Whiteboard for Notes: Record the meeting's progress and key decisions on the online whiteboard, allowing participants to see real-time updates.
Maintain Agenda Flow: Keep discussions aligned with the agenda. If someone strays off-topic, gently steer them back to maintain focus.
Allocate Time Wisely: Adjust the time allocated for each item based on its importance, ensuring critical topics receive sufficient discussion time.
By applying these strategies, you can better manage your meeting time and agenda, leading to more effective remote meetings.
(4) Share Meeting Minutes and Related Materials
Sharing meeting minutes and materials is crucial for follow-up and comprehension. Consider these suggestions:
Prepare Meeting Minutes in Advance: Ensure the minutes and relevant materials are ready to share during or after the meeting. Store them in cloud services like Google Drive or OneDrive for easy access.
Share Links During the Meeting: Use the chat feature to send links to the minutes and materials to participants. Ensure these links are accessible for downloading and saving.
Organize Files Clearly: Use clear naming conventions and an organized structure to help participants easily locate documents. Categorize files by date, topic, or type for quicker retrieval.
Update and Maintain Documents: After the meeting, promptly update the minutes and materials, ensuring they accurately reflect discussions. Include key points and conclusions to aid understanding.
By providing meeting minutes and materials, you enable participants to review and share information easily, fostering collaboration and enhancing meeting effectiveness.


